


How to Replace a Serpentine Belt: Step-by-Step Guide
February 2, 2026
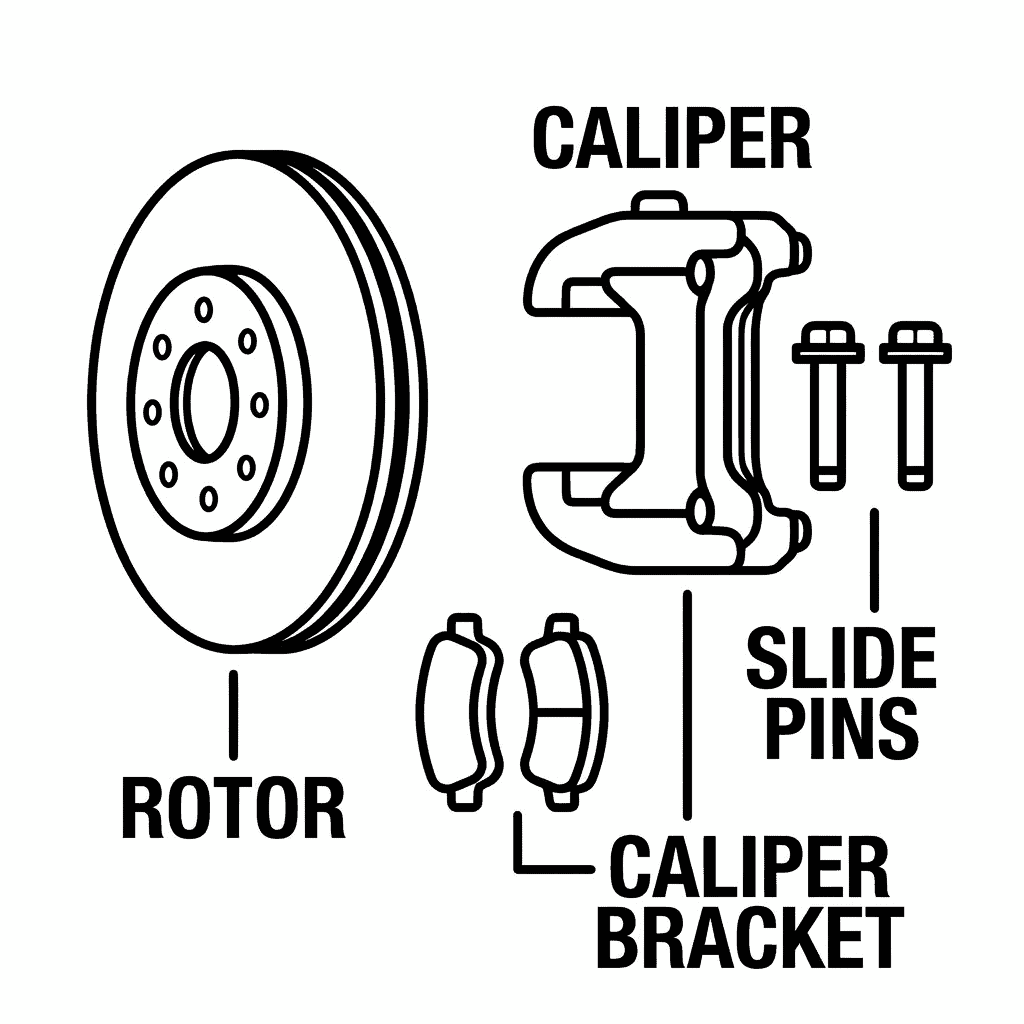
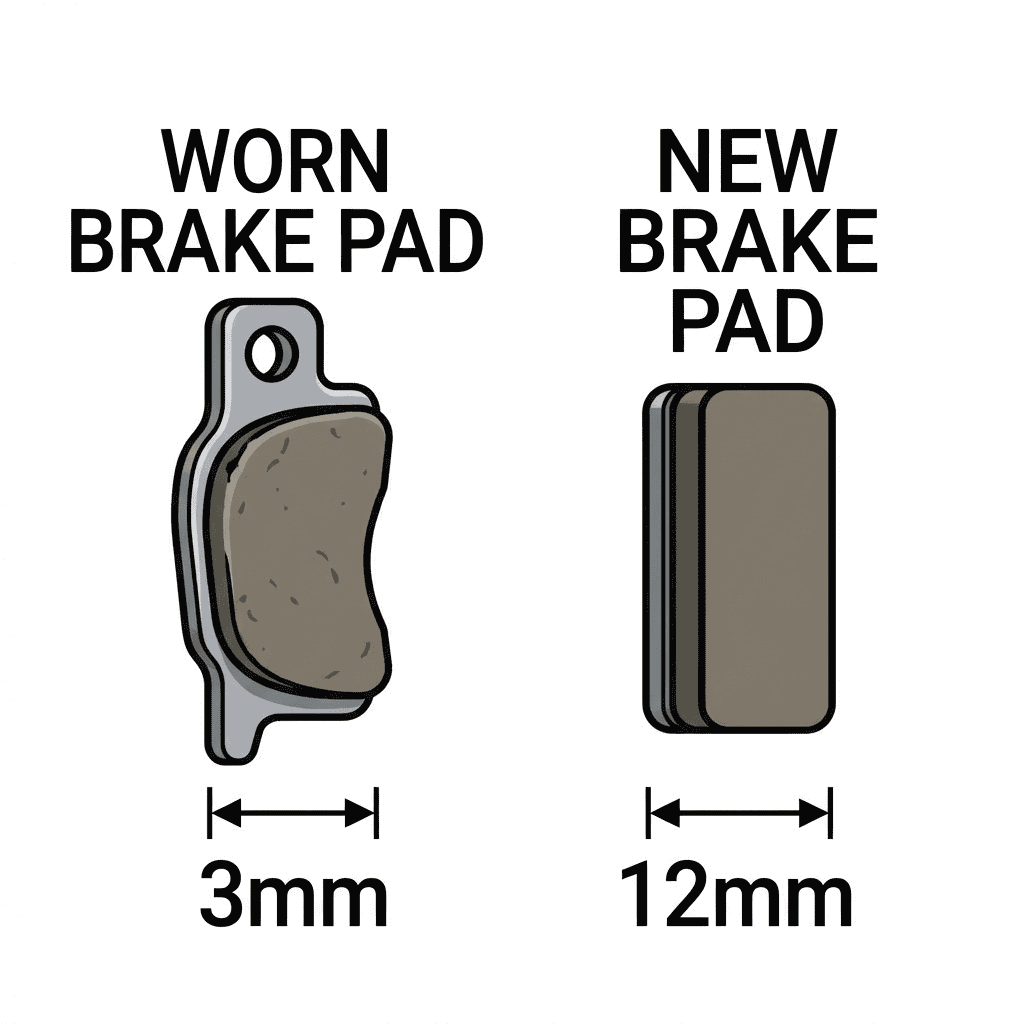
A worn or damaged serpentine belt can lead to charging issues, overheating, power steering loss, and sudden breakdowns....