Replacing an engine air filter is one of the easiest maintenance tasks you can perform on a vehicle. It requires minimal tools, takes only a few minutes, and can help maintain proper engine performance when done regularly. This guide walks you through the process step by step, even if you’ve never worked under the hood before.
Important: Always perform maintenance with the engine turned off and cooled. Consult your vehicle’s owner’s manual if you’re unsure about component locations or specifications.
What an Engine Air Filter Does (and Why It Matters)
The engine air filter prevents dirt, dust, and debris from entering the engine. Clean air is essential for proper combustion. When the filter becomes clogged, airflow is restricted, which can reduce performance and efficiency over time.
A clean engine air filter helps:
✔ Maintain proper airflow to the engine
✔ Support consistent engine performance
✔ Improve fuel efficiency in normal driving conditions
✔ Protect internal engine components from contamination
What You’ll Need Before You Start
Before beginning, gather the following items so the job goes smoothly:
✔ A replacement engine air filter designed for your specific vehicle
✔ A clean cloth or paper towel (optional)
✔ A basic screwdriver (only if the housing uses screws instead of clips)
Replacement filters are vehicle-specific. Always verify the correct size and type using your owner’s manual or a reliable parts lookup tool.
Step 1: Park and Prepare the Vehicle
Park the vehicle on a flat surface and turn off the engine. Engage the parking brake and allow the engine to cool if it was recently running. Open the hood and secure it using the hood prop or latch.
This ensures you’re working safely and have clear access to the engine bay.
Step 2: Locate the Air Filter Housing
The engine air filter is typically housed inside a plastic enclosure in the engine compartment. On most vehicles, it’s a black plastic box near the engine with clips or screws holding it closed.
If you’re unsure of the exact location, follow the air intake hose or consult your owner’s manual.
Step 3: Open the Air Filter Housing
Release the clips or remove the screws securing the housing lid. Carefully lift the top portion without forcing it. Some housings hinge open, while others lift off completely.
Take care not to pull on nearby hoses or wiring.
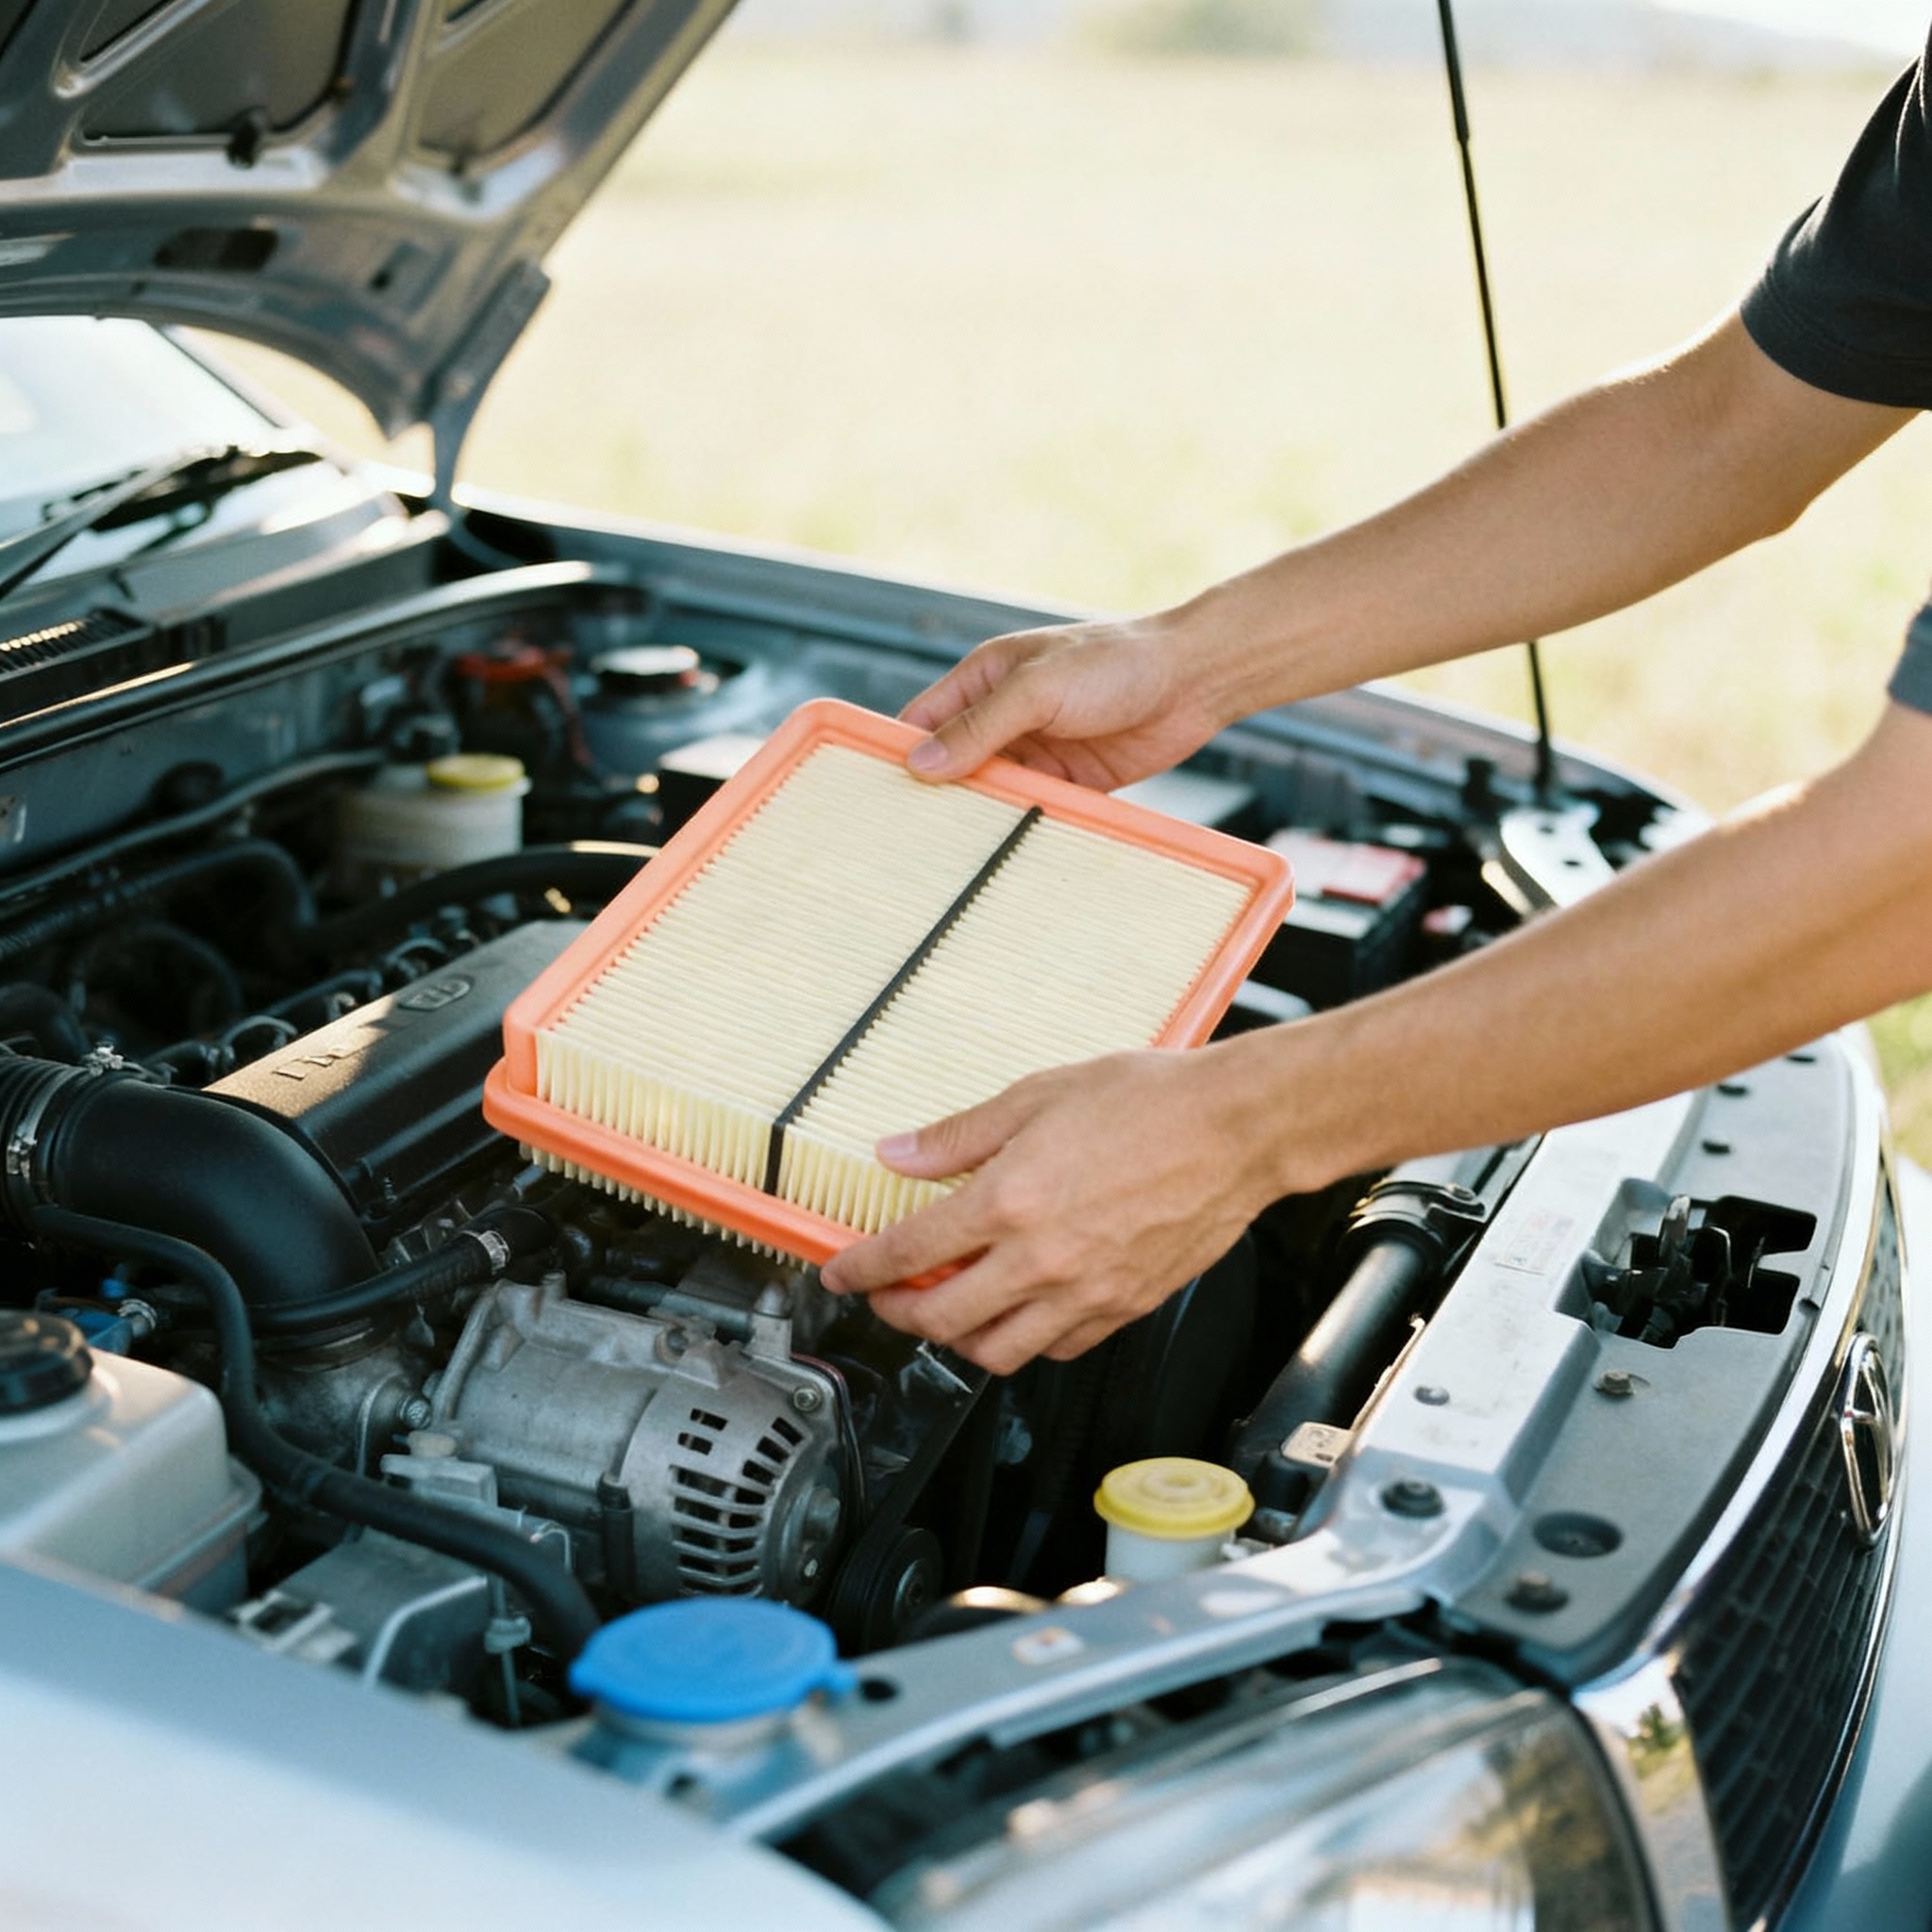
Step 4: Remove the Old Air Filter
Lift the old air filter straight out of the housing. Pay attention to how it sits so the new filter can be installed in the same orientation.
A quick inspection can tell you a lot:
✔ A dark or debris-filled filter indicates restricted airflow
✔ Loose dirt or leaves in the housing should be gently wiped away
Step 5: Clean the Housing (Optional but Recommended)
Before installing the new filter, wipe the inside of the housing with a clean, dry cloth. Do not use water or compressed air, as debris could be pushed deeper into the intake system.
This step helps ensure a proper seal and keeps contaminants out of the engine.
Step 6: Install the New Air Filter
Place the new filter into the housing, making sure it sits flat and seals evenly around the edges. It should fit snugly without being forced.
Confirm the following before closing the housing:
✔ The filter is seated evenly
✔ The sealing edge is fully in place
✔ The orientation matches the old filter
Step 7: Close and Secure the Housing
Lower the housing lid back into place and reattach all clips or screws securely. Make sure the housing is fully closed and there are no gaps where unfiltered air could enter.
Once secured, close the hood.
How Often Should an Engine Air Filter Be Replaced?
Most manufacturers recommend replacing the engine air filter every 12,000 to 30,000 miles, depending on driving conditions.
Replacement may be needed sooner if:
✔ You frequently drive in dusty or polluted environments
✔ The filter looks dark, dusty, or clogged when held up to light
✔ You notice reduced engine performance or fuel efficiency
Checking the filter during routine oil changes is a good habit.
Final Notes for Beginners
Replacing an engine air filter is a straightforward task when done carefully. While the steps are similar across most vehicles, always verify specifications before starting. If anything feels unclear or unsafe, consulting a qualified technician is the safest option.
This guide is provided for general educational purposes only and does not replace manufacturer service instructions or professional advice.