A radiator cap may look insignificant; however, it plays a critical role in regulating engine temperature and cooling system pressure. When the cap fails, coolant can boil prematurely, escape the system, or cause repeated overheating. Therefore, replacing a worn radiator cap is one of the simplest yet most effective preventive maintenance tasks you can perform.
This guide explains when and how to replace a radiator cap safely, what symptoms to watch for, and how this small component directly affects overall engine health.
What Does a Radiator Cap Do?
Although often overlooked, the radiator cap is a pressure-regulating valve. Specifically, it:
Maintains correct cooling system pressure
Raises the coolant boiling point
Directs excess coolant to the overflow reservoir
Allows coolant to return as the engine cools
As a result, a properly functioning radiator cap helps prevent overheating, coolant loss, and internal engine stress.
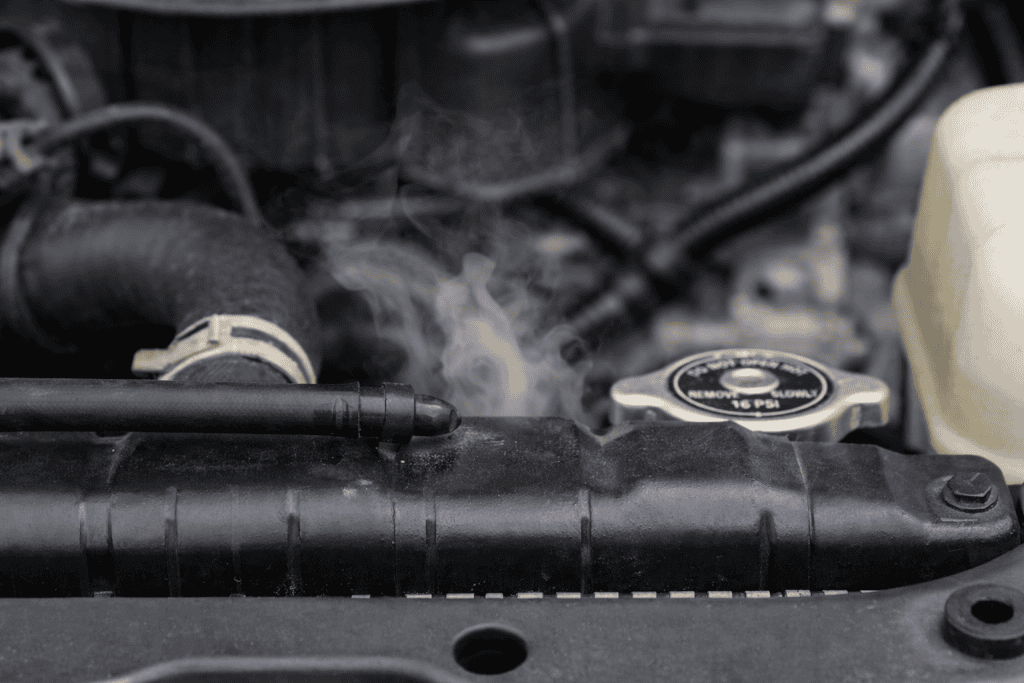
Light steam rising from the radiator area inside a vehicle engine bay during operation
Signs Your Radiator Cap Needs Replacement
Over time, heat cycles weaken the internal spring and seal. Consequently, several warning signs may appear.
Common symptoms include:
Coolant leaking around the radiator neck
Steam escaping from the engine bay
Overflow reservoir repeatedly filling or emptying
Temperature gauge fluctuating unexpectedly
Recurrent overheating with no visible leaks
If these symptoms occur, replacing the radiator cap should be one of the first diagnostic steps, especially before pursuing costly repairs.
Safety First: Important Warning
Never remove a radiator cap when the engine is hot. Instead, always allow the engine to cool completely. Otherwise, pressurized coolant can spray out and cause serious burns.
Tools & Parts Required
Fortunately, this procedure requires minimal equipment:
Replacement radiator cap (correct pressure rating)
Before starting, ensure the engine is cold to the touch. Ideally, wait at least 30–60 minutes after driving.
Step 2: Locate the Radiator Cap
In most vehicles, the cap is positioned directly on the radiator near the front of the engine bay. However, some modern vehicles use a pressurized expansion tank instead of a traditional radiator cap. Therefore, consult your owner’s manual if unsure.
Step 3: Remove the Old Cap
Using a towel, press down slightly and rotate the cap counter-clockwise until it releases. If resistance is felt, stop and recheck engine temperature.
Step 4: Inspect the Radiator Neck
Before installing the new cap, check the sealing surface for corrosion, debris, or cracks. Even a new cap cannot seal properly on a damaged neck.
Step 5: Install the New Radiator Cap
Align the new cap, press down firmly, and rotate clockwise until it locks into place. Make sure it is fully seated.
Each link should be embedded naturally within relevant sentences rather than grouped at the end.
Final Takeaway
Although replacing a radiator cap is quick and inexpensive, it plays a vital role in maintaining stable engine temperatures. Therefore, addressing this small component early can prevent overheating, coolant loss, and more serious engine damage over time.
If symptoms persist after replacement, further cooling system inspection is recommended.
This platform analyzes depreciation trends, resale value behavior, and long-term ownership costs, helping drivers understand how mileage, maintenance, and timing shape real financial outcomes.